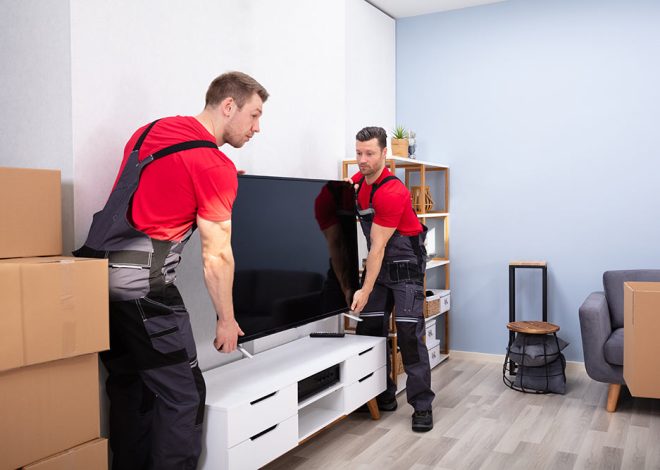
8 Professional Painters Share Their Top Painting Tips
You don’t have the right tools to paint high ceilings. You might be wondering how to remove the painter’s tap. Pro painters will probably prefer that you leave them to do the work.
We managed to get some secrets from our favorite experts. The experts told us what they do to deal with both issues. They then revealed even more tricks of the painting trade to help you achieve a perfect paint job all by yourself. You can read their tips if you are determined to paint yourself. Consider if you want to hire a professional.
1. How To Use An Extension Pole
Paint supplies can be expensive, but don’t cut corners by avoiding this important tool.
Nicole Gibbons is the founder of Clare Paint. She says that most people believe extension poles are only useful for painting high walls. It will give you more leverage, so you won’t need to bend down as much to load your roller. This reduces strain on both your arms and your back.
You may need a longer extension pole if your ceilings are very high. An extension pole is also an essential painting tool because it allows you to paint more quickly and efficiently.
2. Protect Doorknobs
Painter’s tape is a must around baseboards and doors. Professional painters cover each doorknob. How do they prevent them from being splattered with paint or dripping?
Mike Mundwiller is the Field Integration Manager for Benjamin Moore. “And tape the edges to prevent paint from getting in places where it’s not supposed to be.”
3. Select The Right Brush
Do not skimp on your paintbrush. Choose a paintbrush from a reputable brand such as Wooster Purdy or Benjamin Moore. “Investing in good paintbrushes is the first step to achieving a professional finish,” says Brian Bedenbaugh, a pro painter. Plan to spend $20-$25 for your brush.
The paint job will determine the size and type of brush. Bedenbaugh advises homeowners to use soft nylon brushes for interior projects and synthetic or polyester brushes when painting the exterior.
The smaller the brush, the better the control. However, a small brush will make the project take longer. Use a 2-1/2-inch angled paintbrush for painting trims and cutting in.
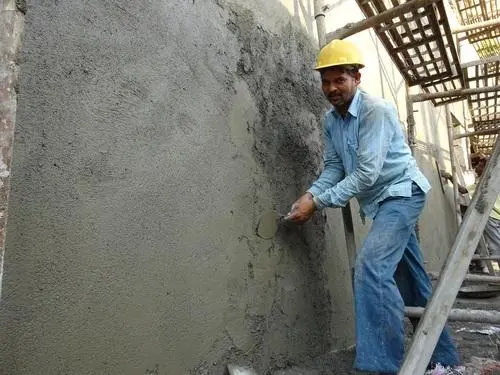
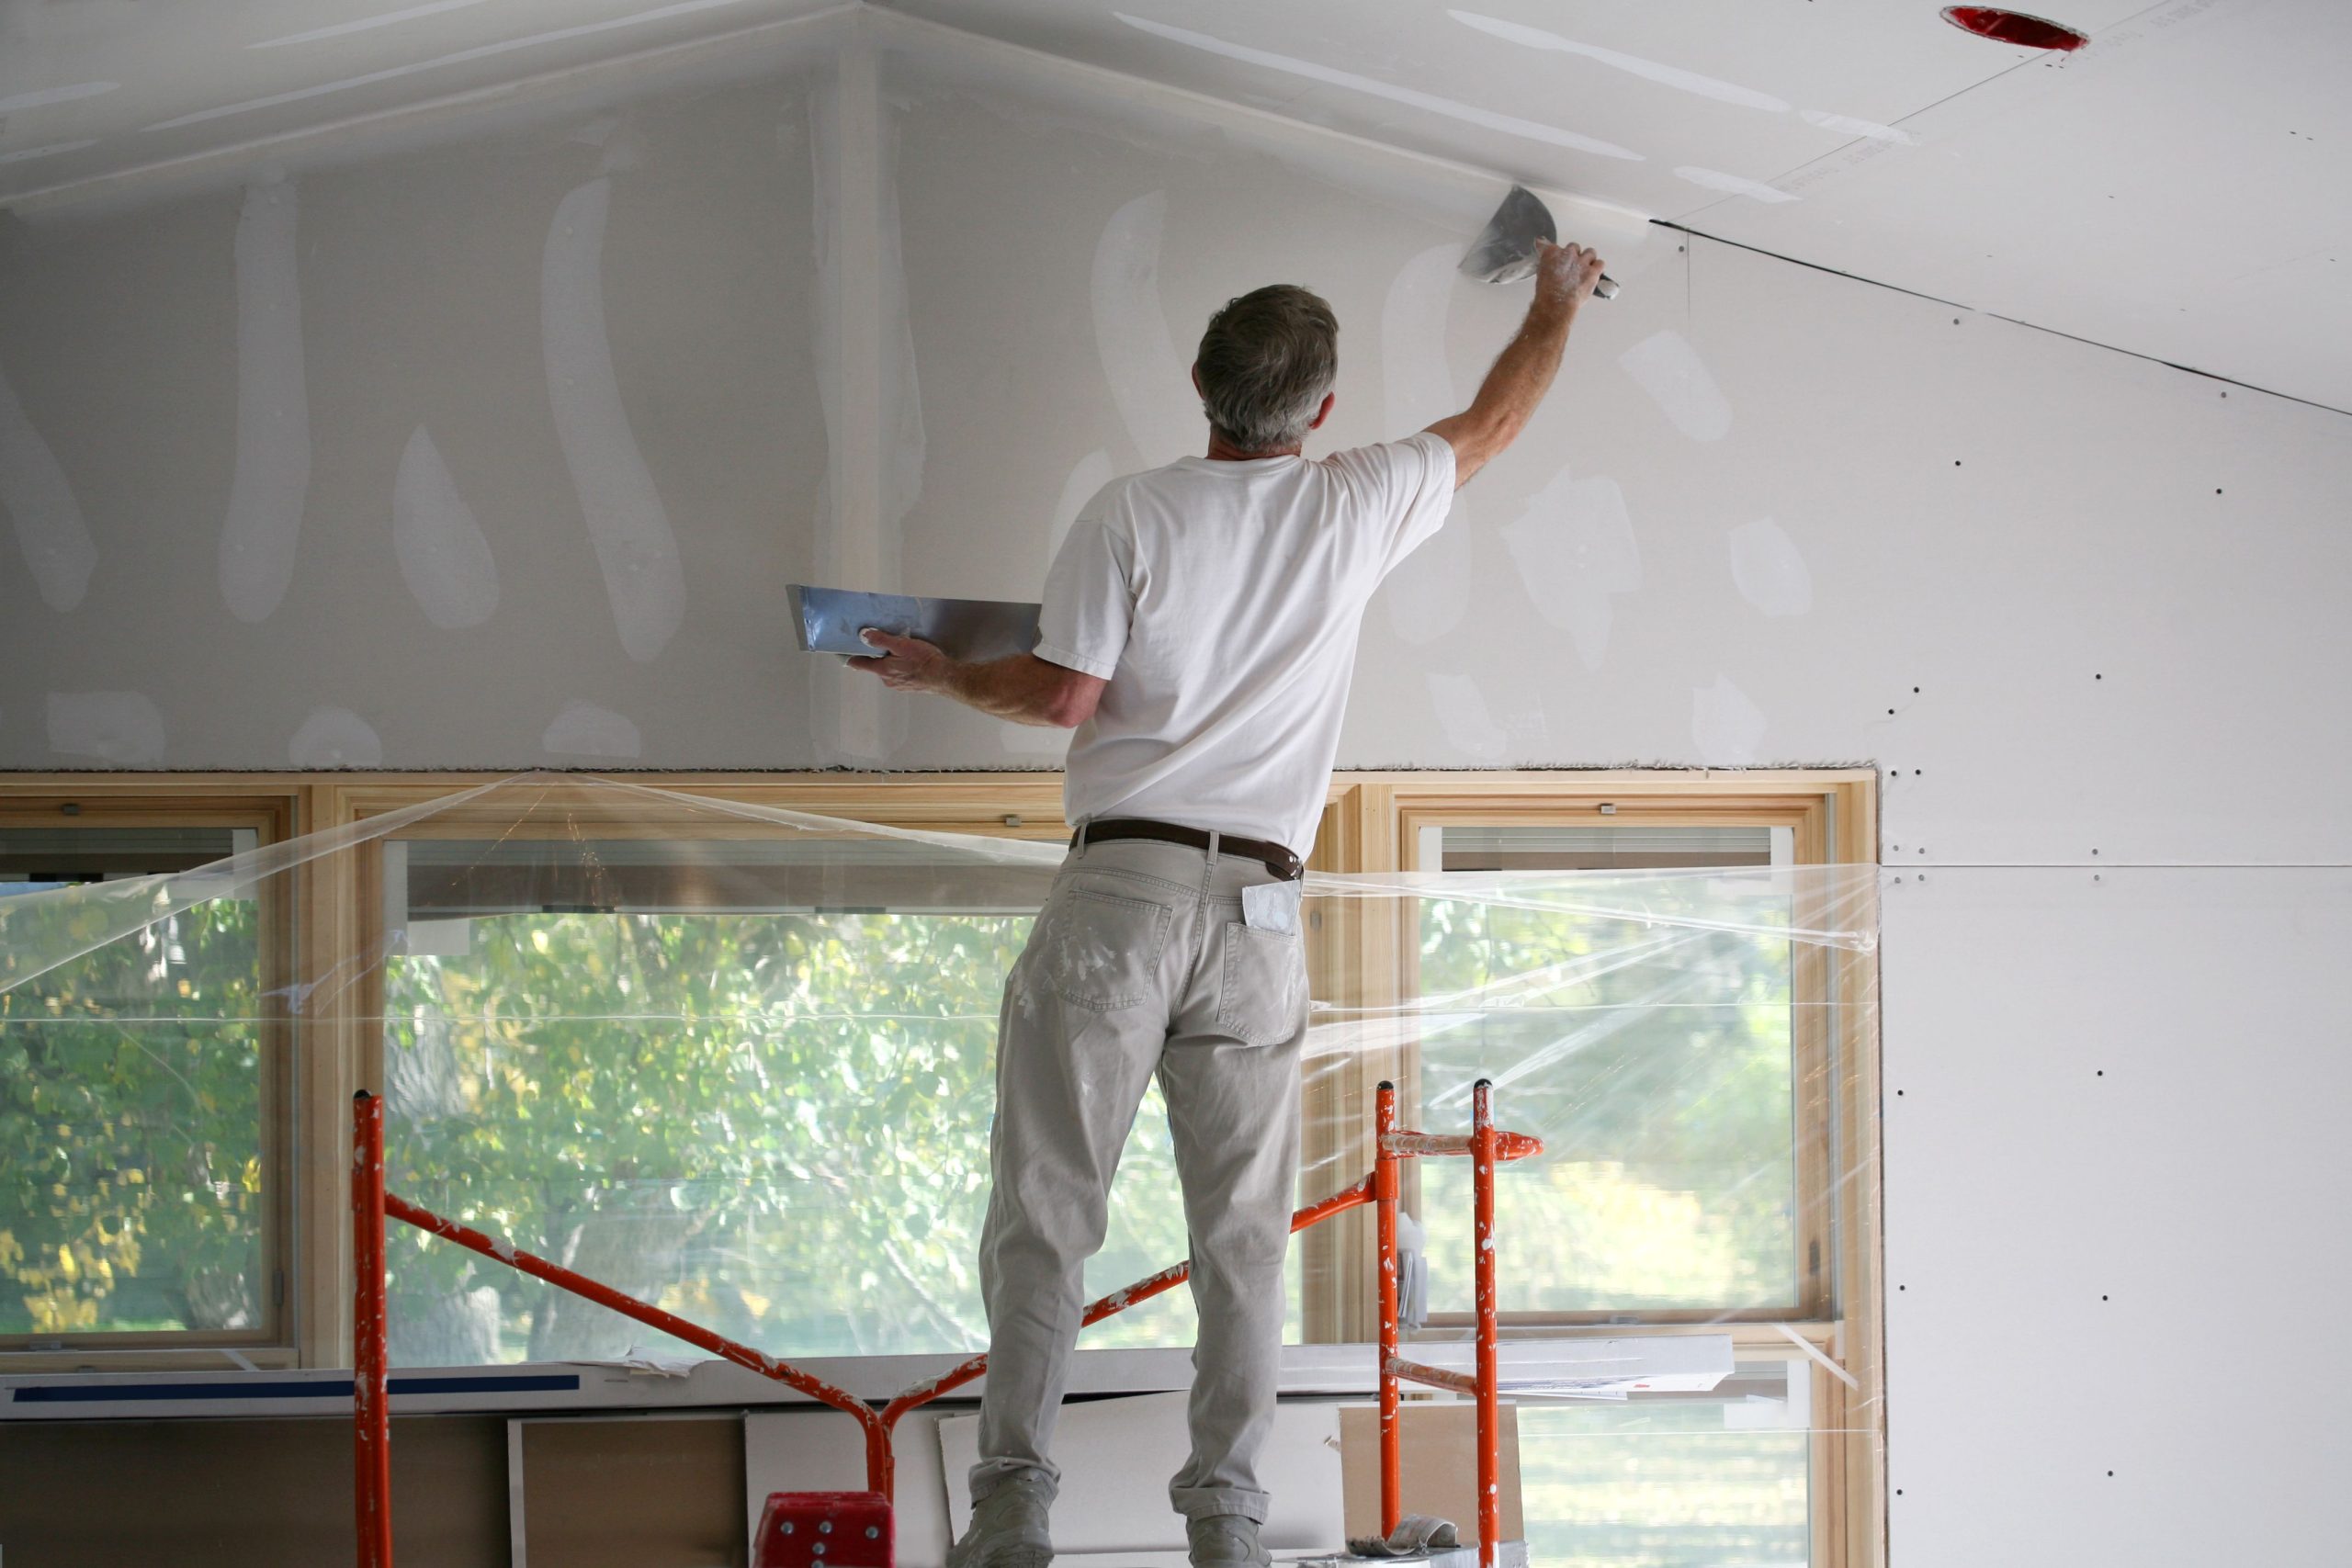
4. Caulk Is A Must!
Caulk is a must before painting. Rick Watson, Sherwin-Williams’ director of product info, says that you should caulk the window frames, door frames, and crown molding. This will make your wall and trim finishes look professional and like they took the time to do quality work.
It can also help you save money on your heating and cooling bills. Watson says that caulking can help prevent cold air/drafts from entering the room. Caulk your walls before painting, especially if the trim is contrasted.
5. Use A Box Cutter To Remove The Painter’s Tape.
Painter’s tape is used to protect your paint job, not to ruin it. Be careful: “Latex paint has an almost elastic “stretch”, so be careful when you remove the painter’s tape that was protecting the floor or door trim. Product Manager at Valspar.
Her trick to prevent this? Treutel suggests using a box cutter or a retractable utility knife to score where the tape meets a wall. This will give you a clean edge as you remove the tape.
6. Put Your Roller In The Fridge
You don’t need your roller and brush to become stiff overnight if you are painting large areas that can take several days.
If you plan to paint again in the morning but want to take a break for the night, wrap your roller and brush tightly in a plastic bag and secure it with a rubber band. Then place them in the refrigerator (not the freezing), says Lou Manfredini of Ace Hardware.
You can also wrap the rollers with aluminum foil or plastic. He says to take it out the next morning and start painting. After you’re done, clean your rollers completely so that you can reuse them.
7. Use The “W Method”
If you spray paint a wall up and down, you are essentially painting over the area that you have just painted. It can cause the paint to come off. How can you avoid this? Jessica Barr, Behr’s National Sales & Training Trainer, says that “many professionals swear by the W Method”.
This technique is exactly what it says. Barr says that when painting a wall, you should roll the paint in a W-shaped pattern, then fill the space around the W and within the square to form a square. Repeat this process until the entire wall is painted.
Each W should be at arm’s length, with strokes of 12 inches or longer. This will evenly distribute the paint and give you a professional finish. Do not forget to reload the roller before beginning the next section of W.
8. Keep A Wet Rag In Your Back Pocket.
Some paint may drip or splash on items that are not supposed to be painted (like clothing). Pro painters in west auckland always prepare.
Jenny Burroughs, senior product manager at PPG, says that if paint gets on your trim, grab the nearest wet rag. Wiping off the paint with a rag that is wet will remove it better than using a paper towel or dry cloth.
What if you accidentally get paint on your windows? Burroughs also has a tip for you: “Use razor blades to remove unwanted paint.”